
What you will need
1.Burlap

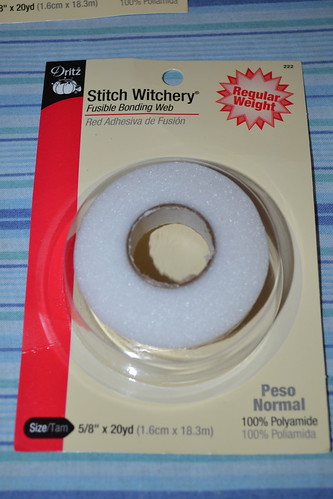
2.Stitch Witchery
3.Scissors and tape measure (preferably a zebra print one, but I guess a regualar one will do).
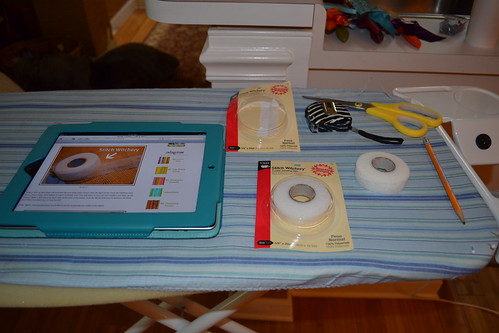
4.A ruler or straight edge (I used a piece of molding that I already had, I'm thrifty like that)
5.A husband/boyfriend/baby daddy (notice the look of "oh crap you want me to help with what? that look is also optional)
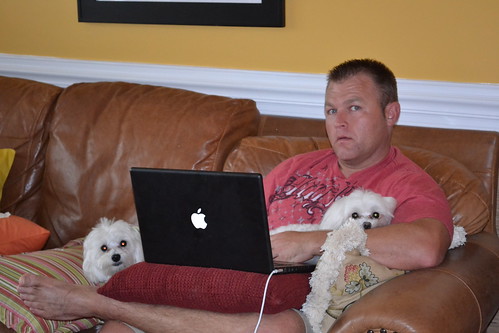
6.The ipad is optional but very helpful! I watch tutorials constantly.
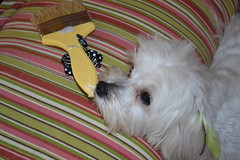
7.Two fluffy help mates! (also optional and some of your husbands will double as a fluffy help mate ahahahaha cracking myself up).

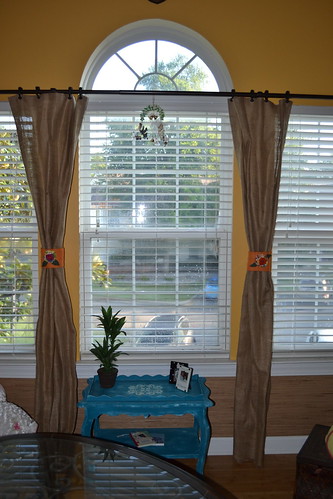
So I measured my windows and "winged" a lot of this. Because the burlap "grows" when you stretch it, and because these are not supposed to look store bought, I used approximate eye balling. Mostly because I'm lazy and I hate to waste time on things like measuring.
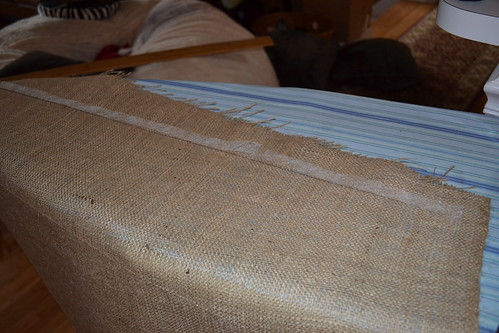
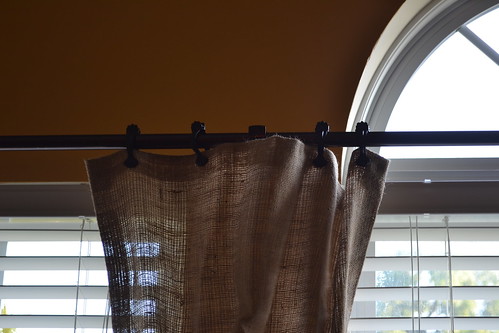
Anyhoo, I cut the burlap into strips and went to ironing. I hate ironing but it was necessary. Stitch witch the tops of the burlap about 1" around.

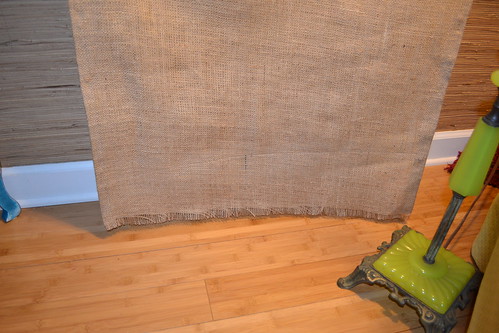
Then I measured the bottoms, which I chose to leave frayed because I liked the way it looked! Again, you will have some room to play so err on the side of caution and cut them too long rather than too short.
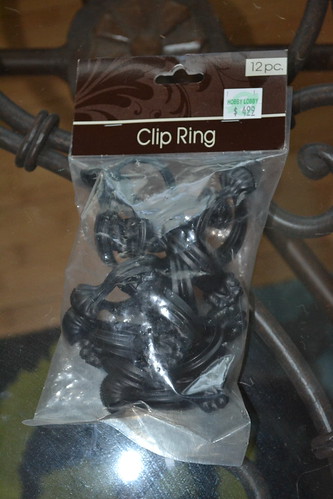
I stitch witched them all the way around and clipped them on at the top with clips I bought at Hobby Lobby for 6.99!
I pinched them and pinned them overnight so that they wouldn't look so stiff!
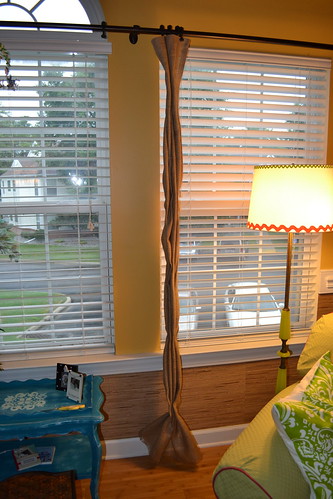
I didn't quite get enough fabric so this is only 4 of the 7 I have to make, but you get the idea! What do you think?
I used an awesome tutorial that I found at lifetothet.com/385/burlap-curtains. Life to the t is awesome! Shout out to T for the help!
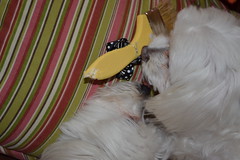
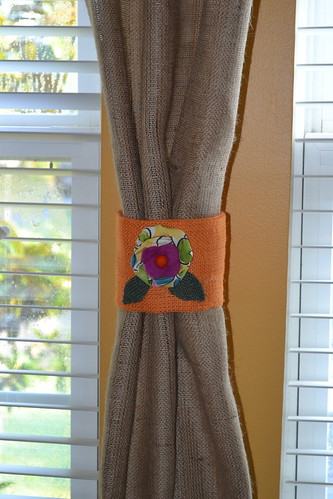
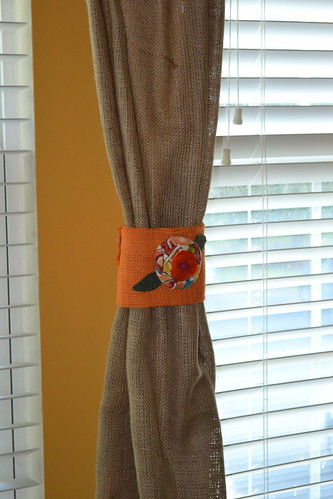
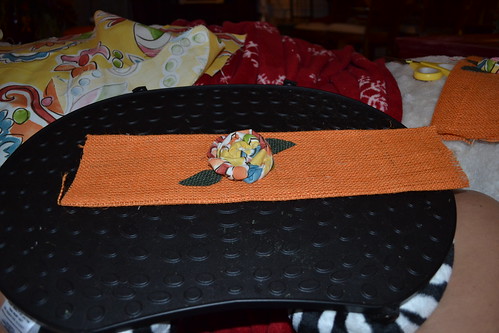
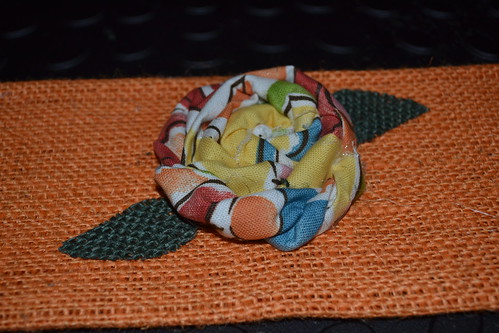
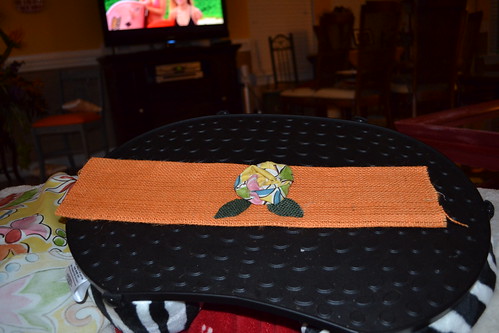
Of course I couldn't stand to just leave them, so I played around with making the tie backs. This is what I came up with!
Too much? How about give me your input on these bad boys please and thank you.
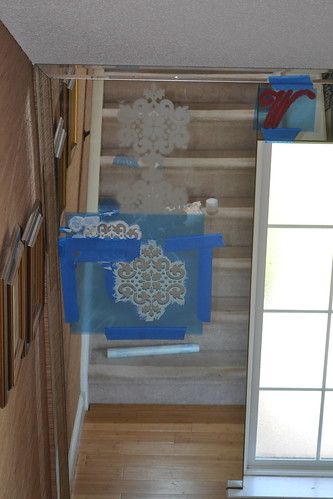
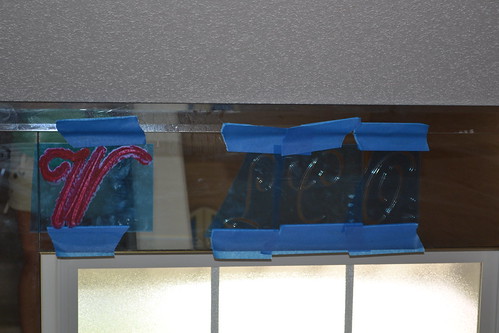
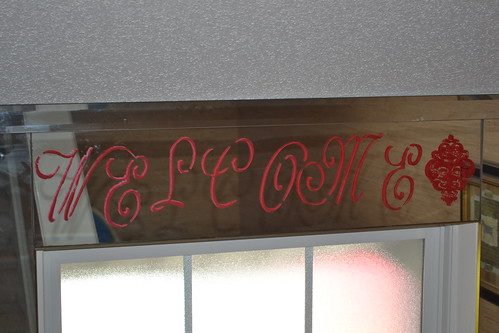
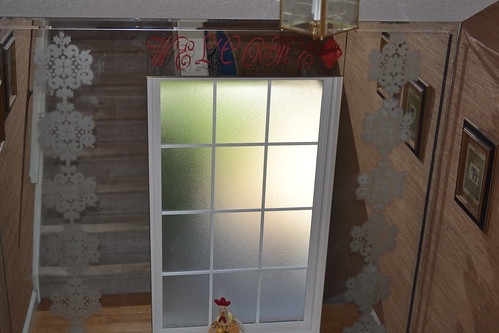
As for the horrible mirrors in my entrance...Steven and I have been trying to decide for a long time what to do with them. So naturally, painting on them was my first choice. He went out of town on business...so when he came home...I had done a little bit of crafting! I used stencils and spray on glass etching. I almost died due to the fumes but other than that it was fairly easy.
And...I have been collecting plates for a little while now, in hopes of doing a little something like THIS...
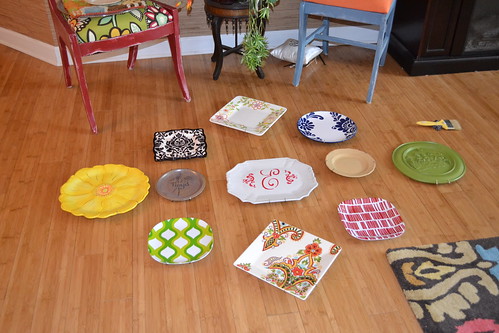
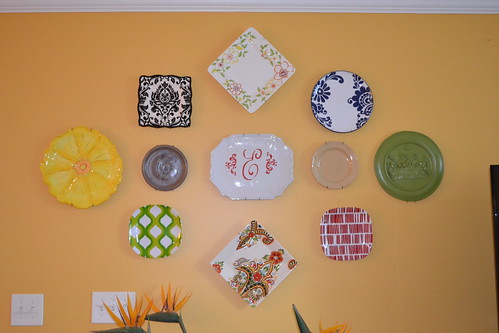
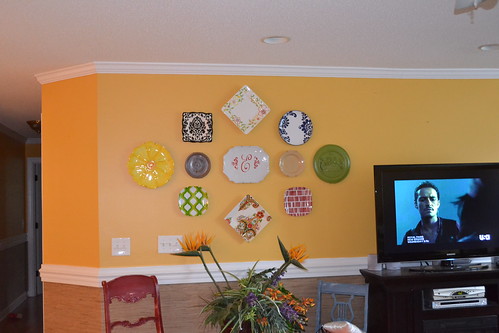
Nevermind the dude on tv at the photo shoot I was having! I think they look adorable. I bought tons of plates at the thrift store, and target. I painted the one in the middle (duh?) for the focal point!
It's coming together!!! I have a coffee table, rugs and pictures to sell so let me know if you are interested!
XOXO

3 comments:
It all looks so good! And the burlap.....Love it! What does the writing say on the mirrors up the stairs?
Soo...love the tie backs..did you make them yourself?? and if so did you just roll and then sew from underneath??...I'm thinking of doing this for my daughters room but making a few on each of didfrent fabric...PS found your blog though "All things Thrifty"
Elizabeth I just older the fabric over 3 times and stitch witched together! Of course I ironed It down first! I have seen many little girls curtains with he different tie backs and I think they are adorable! Good luck!
Post a Comment